Nicholas Day > Flashing cheap security cameras with OSS for fun and profit
2024-06-12
What if I told you that these two cameras run linux, support 2k video streaming/recording, and are only $36 total? (June 2024) I'm honestly shocked that the prices are so low. Maybe there is an increasing amount of competition for security cam SoCs (system on chips) which vertically integrate necessary functions. Maybe your data is streamed to their servers and sold for a profit, who knows.
You can flash these with OSS like OpenIPC. Depending on your camera there are a few different options like Thingino and OpenMiko. OpenIPC seemed to be the most well supported for different cameras and most active, so I chose to use that.
From what I can tell, the installation process generally goes like this:
- Hope that someone built a special firmware image that works with your camera's built in upgrade features
- Take apart your camera and find solder pads for a UART serial port
- Gain access to the camera's bootloader (U-Boot)
- Use that to overwrite the camera's flash with your firmware
The first thing I did was google OpenIPC + Tapo C110 v2 which turned up this helpful Github issue. Multiple people reported success there, so I crossed my fingers and bought the cameras.
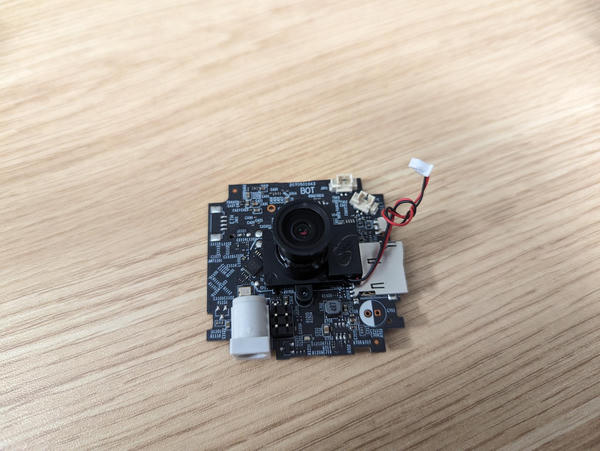
I put some old insurance cards down the center of each side of the face, and used a flathead screwdriver to pop the cover off.
On this device, the SoC is SigmaStar SSC333, and the flash size is 8MB. Here's a link to the datasheet.
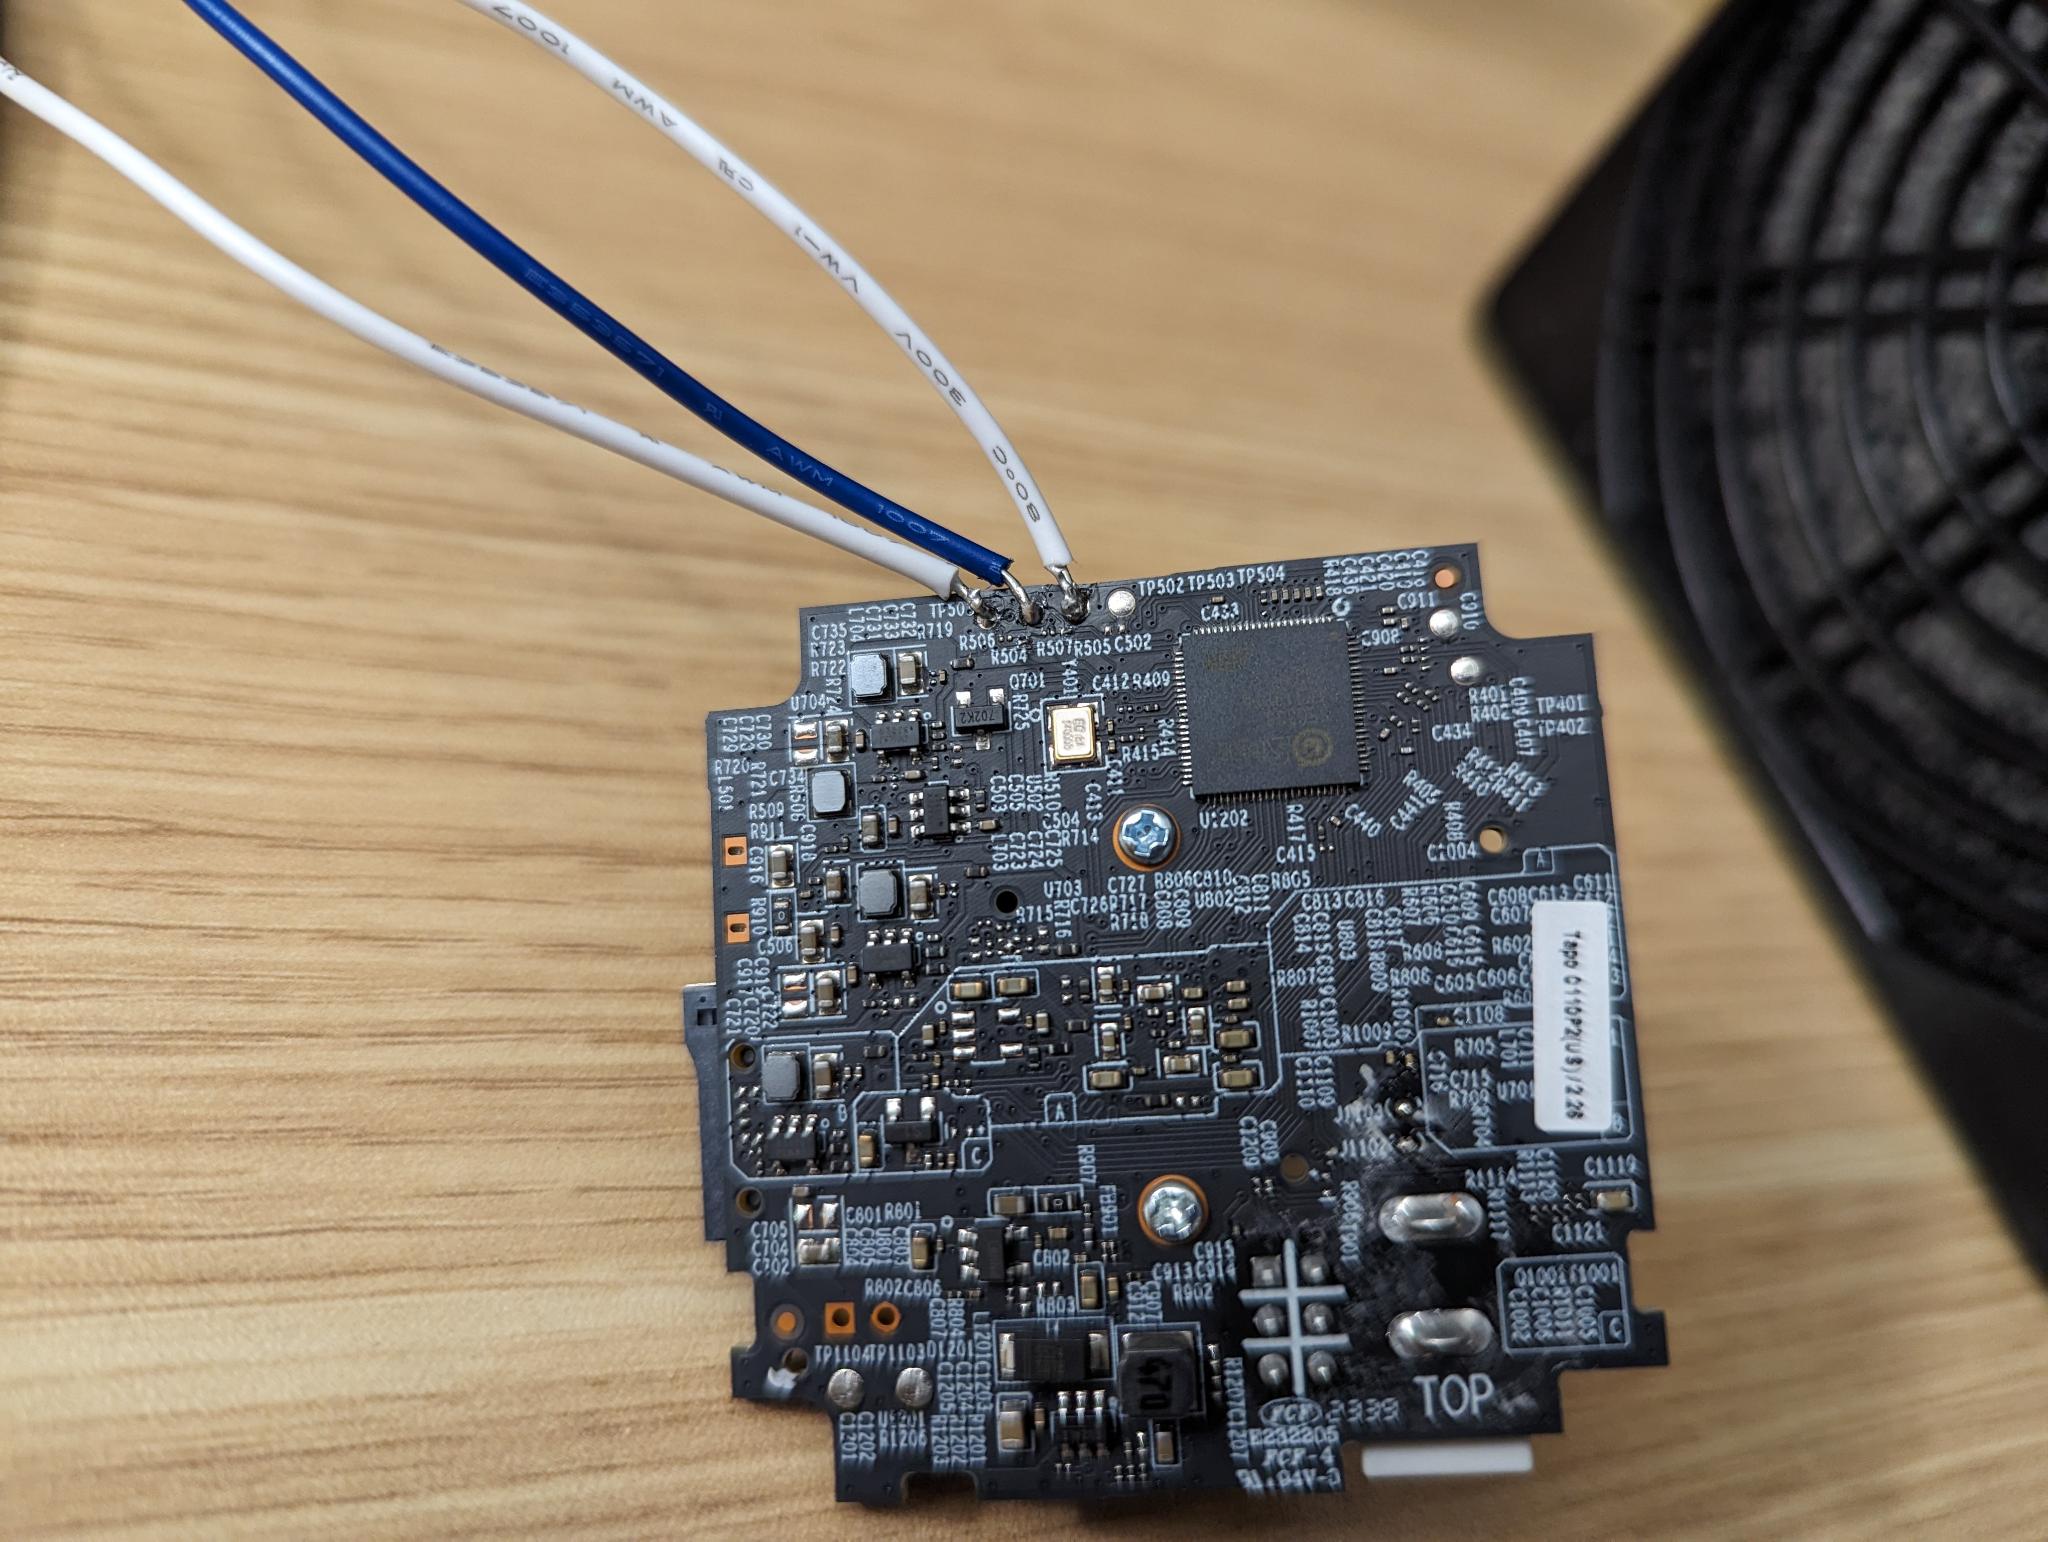
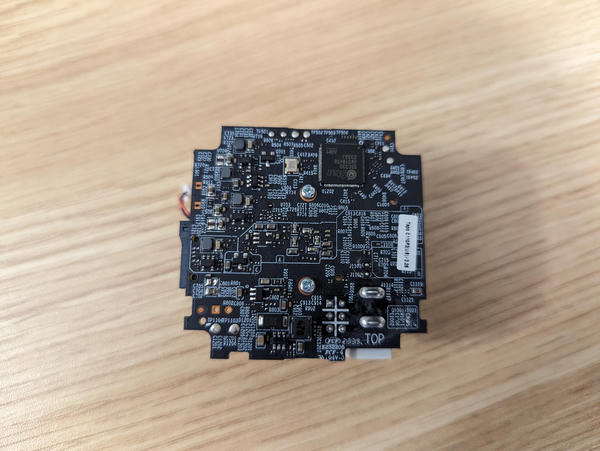
On the back, there are 4 larger solder pads and a few smaller unpopulated pads below them. The unpopulated pads are supposed to contain resistors/capacitors and I believe they were removed to "prevent" hacking them. You can just solder bridge R504 and R505 to fix that. I'd really recommend fine gauge solder wire for this. In order from left to right, the large pads are TX, RX, GND, VCC. You're supposed to leave VCC unconnected so the whole camera isn't powered through that VCC pin.

After reading the Github issue for this camera, and bumping into a few roadblocks, this is the final setup I came up with. Some parts may be unnecessary or redundant. I feel like there should be a single flashable binary somewhere that I missed.
- Hook up the "UART" serial connection to a USB-i2c device (I used a Raspberry Pi, but you can also use a cheap ch341a device)
- Erase the flash chip
./snander-i while booting./snander-e to erase
- Write the U-Boot bootloader built by OpenIPC for this SoC
- Download from here
./snander -w u-boot-ssc333-nor.bin
- Connect your UART connection to a USB-UART device (FTDI Friend, CH340)
picocom -b 115200 --databits 8 --parity n --stopbits 1 --flow n --logfile=official-ipcam-$(date +%s).log /dev/ttyUSB0
- In U-Boot's console, load the firmware from a SD card and write to flash
mw.b 0x21000000 0xff 0x800000fatload mmc 0 0x21000000 openipc-ssc333-lite-8mb.binsf probe 0sf erase 0x0 0x800000sf write 0x21000000 0x0 0x800000reset
- Boot into OpenIPC and do a live upgrade with the official release firmware which contains the wifi driver (following this)
- Login with
root/12345 - Download and extract tapo c110 v2 from https://github.com/OpenIPC/builder/releases/tag/latest and put uImage and rootfs.squashfs on sd card
soc=$(fw_printenv -n soc)sysupgrade --kernel=/mnt/mmcblk0p1/uImage.${soc} --rootfs=/mnt/mmcblk0p1/rootfs.squashfs.${soc} --force_ver -z
- Login with
- Set the Wifi SSID and password to connect
fw_setenv wlanssid MY_SSIDfw_setenv wlanpass MY_PASSWORD
- Profit
I originally tried compiling my own firmware from this repo before finding the official release firmware, but it was difficult to get building. Luckily, they have what seems to be nightly builds.
Once you have the camera's IP address, you can login to the webui and change your password. From there you can edit the configuration, see stats, and see a sample video stream (MJPEG stream, very low fps + high latency). Here's a command list of a few things you can do with Majestic, OpenIPC's streaming software
The firmware also supports RTSP streams. They seem to have pretty stable fps (20-30 fps, eyeballed) and low latency (1-2s, eyeballed). However, the camera quality isn't fantastic. It reminds me of the photos for PinePhone before their camera app got more advanced features. I don't think the camera itself has great cpu specs, but maybe a receiving computer could process it appropriately.
The camera also supports recording audio and playing sounds, but you have to enable it in the config first. Audio quality is... not great, but passable. However you can't hear someone and output sounds at the same time.
It didn't seem like there was a way to reset the device and create a hotspot that you can connect to and set the real wifi SSID/password like other IOT devices. So I dug around in the code and eventually found this script. If you place a script called autostart.sh on the sd card root, it will run every bootup. So you can just set the wireless ssid parameters in there.
#!/bin/sh
fw_setenv wlanssid MY_SSID
fw_setenv wlanpass MY_PASSWORD
Potential use cases:
- Use as a budget FPV stream!
- Security cam with no phone-home "features" (OSS network video recorders / NVRs like Frigate look awesome)
- Camera to monitor the progress of your plants
- 3d printer timelapse camera
- Computer vision camera (how much traffic is on your road, when does the delivery driver comes, how many parked cars are on your street, detecting birds, etc)
Overally, it's so-so quality, but you really can't beat it for the price. This is way cheaper than existing "nice" security cams. It's also cheaper than some existing USB webcams that are also 2K.


