Nicholas Day > How I spent months making a single piece of jewelry with no experience
2021-10-10
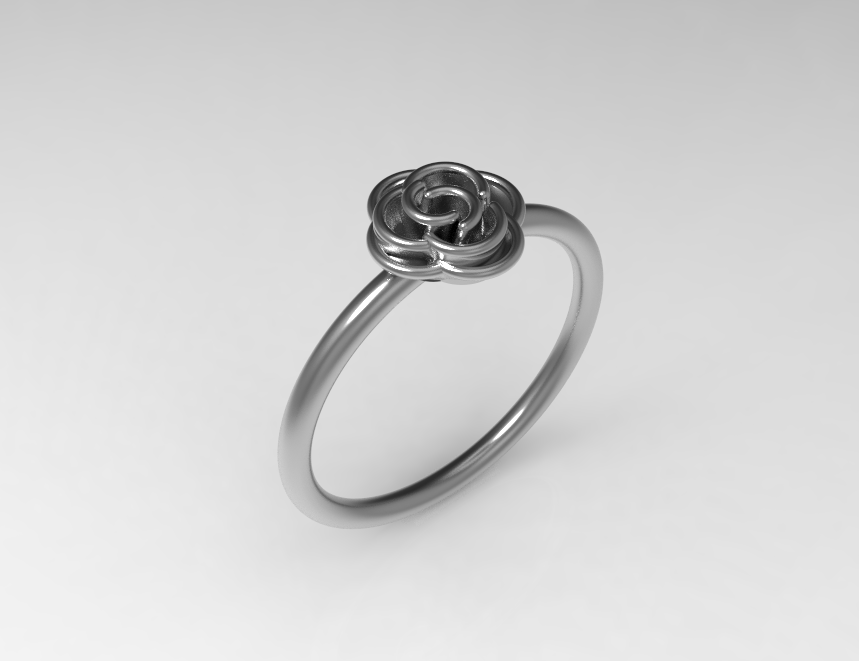
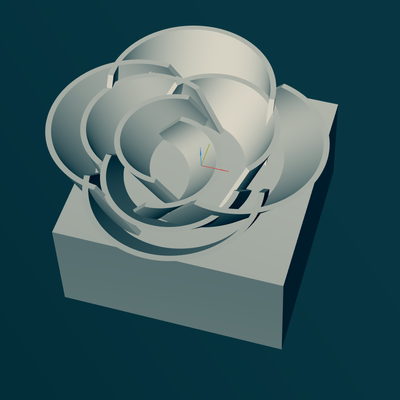
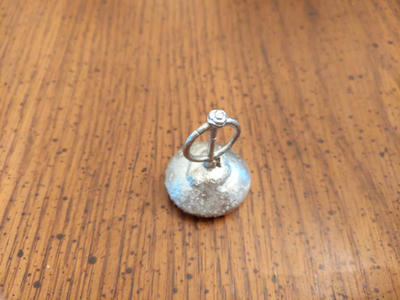
For my girlfriend's birthday, I wanted to make her this ring I designed.
I thought it was possible because I watched a few YouTube videos on how to make rings at home. (Jewelry casting at home. Everything you need to know to try it! and Casting Rings & jewellery at home - Lost Wax & PLA methods - by VOG (VegOilGuy)). Even Shane from StuffMadeHere said it was easy.
After doing some research, I found this to be the main process:
- Design ring
- Print ring on a SLA 3D printer
- Make silicon mold of printed ring
- Make wax copies of ring
- Make plaster mold of ring
- Burn out wax + cure plaster mold
- Cast ring in metal
- Polishing
Like any naive project, I thought, "How hard can this be?". But, I ended up making what I felt like was every mistake possible so I'm writing this guide to help others who go down the DIY path of jewelry making.
Ring Design
I knew I would want to change many parameters of the ring, so I used libfive Studio, a lisp 3d modeler. I made a petal function with half circles extruded at an angle. To make the rounded edges, I just added torus shapes or spheres when necessary.
I went from left to right with not many changes in code! If you haven't used a parametric CAD program, I would recommend it.
If I was doing a more organic shape, I would consider using Blender based on this video.
Printing the Ring
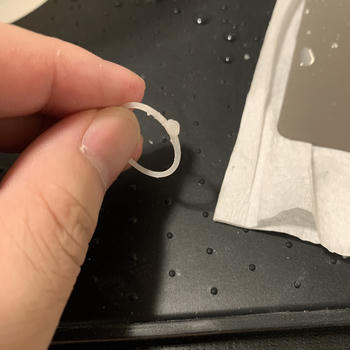
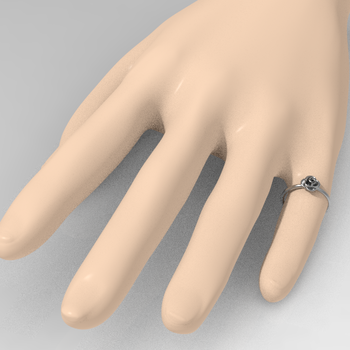
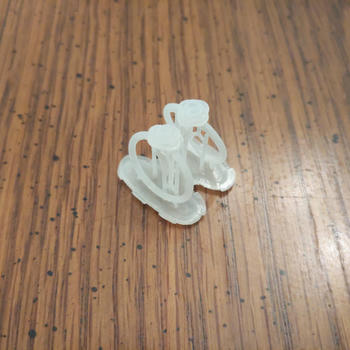
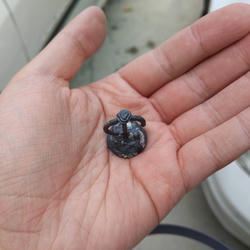
This was my first and last print. It was way too small, so I doubled the diameter of the ring and the rose head. To prevent cad goggles this time, I tested it on a real-sized hand. The printer also filled in some of the small gaps because it wasn't precise enough.
Silicon Mold of Ring
Since I knew I'd need more than a few attempts to get this ring right, I decided to burn out wax copies of the ring rather than try burning out the plastic directly from the plaster mold. I also wasn't sure whether the plastic would leave a residue or ash behind.
To make a wax copy of the ring, I got some mold making silicon from my local Michael's art and craft store. In the future, I'd use something recommended from this CNC and resin guide to be safer. With this material, I used gloves and mixed it outside.
I started with a paper cup for molding because it was convenient at the time, but I switched to a cardboard mold so I didn't have to hang the piece upside down and could use less silicon. The cardboard was also reusable.
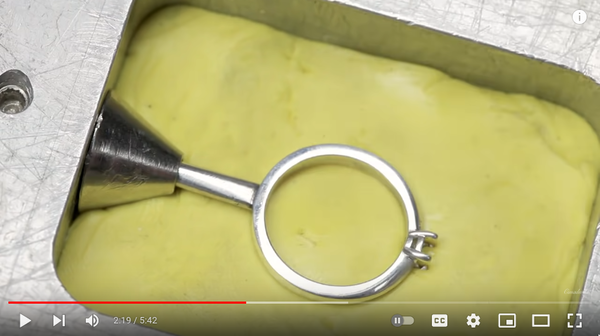
Instead of cardboard, a metal mold with a consistent cone for wax injection would work well. Clear silicon would also be amazing to see the wax as you inject it. See here for a visual.
My silicon mold cutting technique wasn't the best. It was difficult to pop the ring out. Professionals follow the side of the ring from the attached sprue at the top. See here and here. They manage to make and cut some pretty complex molds.
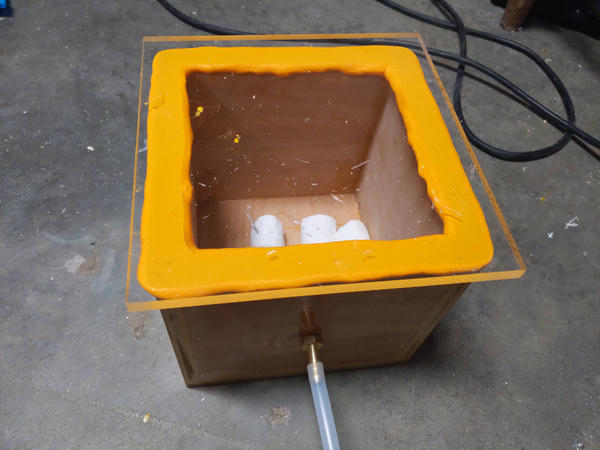
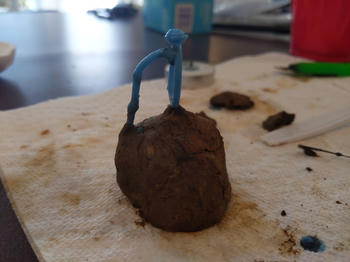
It's not visible in the photo, but there were many bubbles left behind in the silicon mold. This was okay on the ring, but many bubbles formed on the rose head which didn't look great. To fix that I made a vacuum chamber and got a vacuum pump from Harbor Freight.
The lid is 7in x 7in of 10mm acrylic from eBay for ~$15. To make the silicon gasket, I used food coloring, corn starch, and 100% silicon from Home Depot. It becomes like a putty which you can shape into a gasket. To smush down the first gasket, I created a vacuum in the chamber to seal the lid to the wood. This flattened the gasket too much and caused sealing issues, so I manually pressed it down next time.
The vacuum chamber was made out of wood coated with epoxy to reduce the amount of air that could escape through the porous wood. However, this only increased the vacuum to -20 in mercury (-30 in being full vacuum). I think I'd need multiple coats of epoxy, and maybe epoxy on the inside too. I coated all sides of the chamber at once, and this created epoxy drips at the bottom. Maybe it'd be better to do one side at a time.
Another problem with this chamber is that it only achieves a vacuum of -20 in mercury when you press on the corners of the lid. The atmosphere is probably pushing down on the lid causing the corners to deflect. Maybe this is why all vacuum chambers I see are round chambers. Maybe putting another gasket on top of the current one would help with the deflection.
Wax Copies of Ring
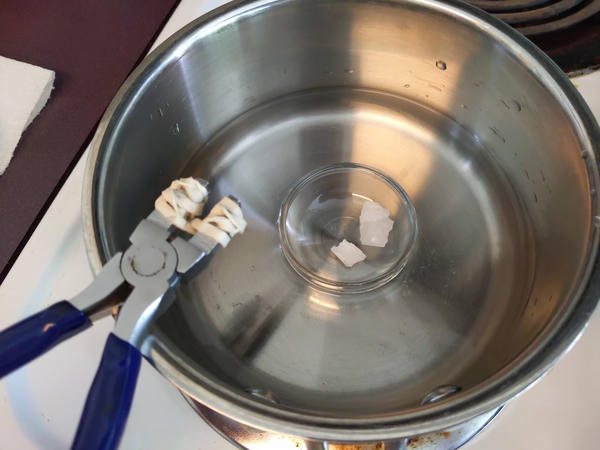
To melt the wax, I used a glass bowl with below boiling water (the melting point of this wax is 170 deg f) similar to melting chocolate. Then I realiezd that a hot plate with an aluminum soda can was a lot more effective at transferring heat and keeping it at the right temperature. This reduced the time from 5-15 minutes per pour to 2.
At first, I tried to pour candlewax, but it didn't seem to flow into the hole well. I reviewed some videos and realized they used a specialty injection wax (Freeman Injection Wax KC2364) which I found from Amazon. I'm not able to compare this to other injection waxes, but it seemed to work well for me.
Another problem with pouring wax is that it doesn't flow into small details and holes. So at first, the wax didn't even cast into a ring shape at all. VOG on YouTube used a metal meat marinade injector here. I kept this at 200 deg f in a toaster oven outside. I'd recommend doing what you can outside because there are some fumes.
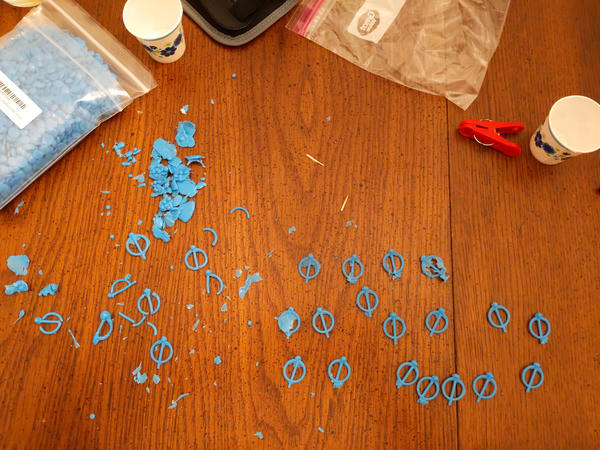
Even with the wax injector, I could only make a small percentage of passable rings. I made around 50 rings to get 5-10 "good" ones.
A few tips I realized to get better looking wax injections:
- Cut small channels in the mold which go to the problem areas and lead to the top to let air out
- Keep the mold at wax melting temperatures with the wax injector in the toaster oven
- Use a vacuum chamber to suck air out of the mold after you inject it
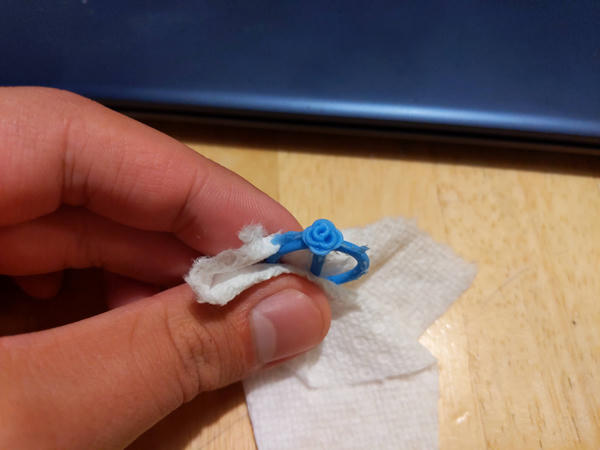
There are a few bubbles however, which I think are from the vacuum boiling the melted wax slightly.
To fix the small bubbles and make this process more consistent, I was thinking about making molds which feature a cone shape which the wax injector matches to make better pressure for injecting wax. All of the professional jewelers on YouTube also seem to use wax injection machines which melt the wax and inject at a specified pressure. This video suggests cutting the whole tip of the wax injector so that the only part left is a cone.
Taken from Pablo Cimadevila
Note: If you have to cut / modify the wax copy, modify it soon after when it is malleable or with a hot knife. After a day, this injection wax becomes very brittle.
Note: If you're having problems with air in your wax injections, here is a lot of conflicting advice on how to fix it. I think the linked post makes sense though. This article also has some good tips to explore.
Plaster Mold
Measuring by volume was giving me inconsistent results, so I started measuring plaster and water ratios by weight. I used around 75g water and 100g plaster for my first ratio.
After making a few molds and starting the curing process, I realized it had a few problems with cracking. Wikipedia says some common additives are magnesium oxide to prevent cracking and cement to limit expansion. The melt point of magnesium oxide is 5166 deg f, much higher than the plaster mold should be heated to. It's used in electric stove burners as an electrical insulator between the wire carrying current and heat and the outer ferrous tube.
The second ratio I tried was 80g plaster, 20g magnesium oxide, and 75g water. This reduced cracking quite a bit! But as you go through the curing process, the plaster didn't thermally expand at the same rate as the steel pipe, so it ended up shrinking or breaking away from the walls of the pipe. I wanted there to be no gap between the pipe and the plaster mold so that it could create a better seal for the vacuum.
For the third ratio I added cement to try and fix the thermally expanding problem. It was 84g plaster, 24g magnesium oxide, 12g cement, 90g water. This performed a lot better, but there was still some small cracks, and pulling away from the pipe.
I'd just buy investment plaster next time. It's fairly cheap per cast and probably has all the properties I'd want, but I didn't want to wait for it to ship. My powder also came together rather quick, I'd like more working time.
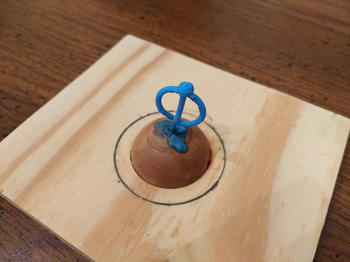
Something that greatly increased speed and consistently was switching from using a cup and clay to using a half-sphere and pipe to make the mold. This reduced time to make the mold, and it was pretty consistent too.
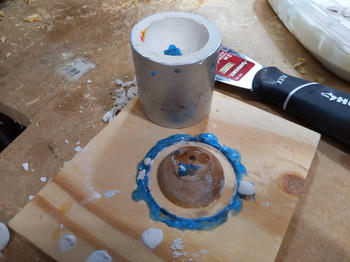
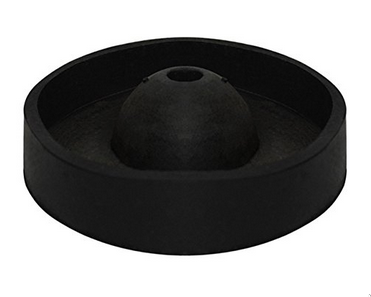
An issue I had with my pipe and half-sphere plate, was that it was hard to create a good seal so that plaster didn't leak out. I tried hot glue and wax, but when shaking the mold to release air bubbles it breaks. In the future, I'll switch to something like this rubber sprue base, where you stick your model's sprue in the center and the edges grip the flask pipe.
I think it's also important to have a strong vacuum to pull out air bubbles from plaster. My wooden vacuum chamber could only pull -15 to -20 in mercury of vacuum which didn't even boil the plaster. This seems to be the reason why many air bubbles were left in some of my plaster molds.
Note: If you wanted to experiment with trying to make your own investment plaster here is a good resource.
Curing the Plaster
I started with the toaster oven. It wasn't very thermally insulated, and took hours to burn out the wax. Which is supposed to melt at 170 deg f. I also tried using a torch which came out even, and not reproducible. Usually different parts of the outside would be charred, and the inside would still be somewhat wet.
One time I was casting a ring, and it seemed like the melted metal was boiling. This is because I didn't burn out the plaster enough, so there was water bound inside. These burnout guides (here and here) show timing and temperatures to follow.
What I didn't realize at the start of the process was that burning out the plaster mold was a two stage process. You had to burn out the wax, then the plaster to remove chemically bound water.
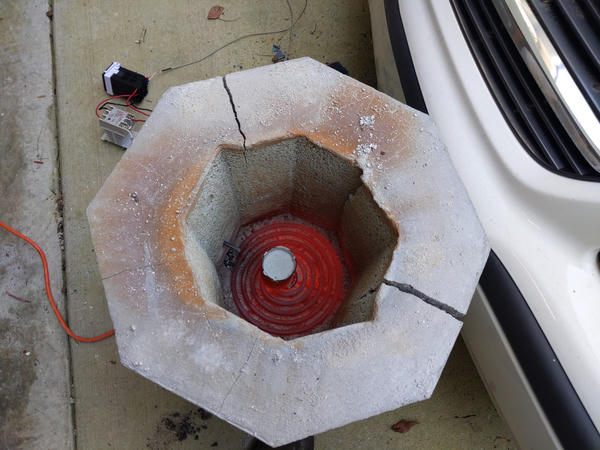
After those issues, I switched to using this foundry I built for another project. This brought it to the right temperature and I could control the burnout properly with a PID controller and solid state relay I bought.
I still made some mistakes. Too quick, and the plaster cracks. Not enough burnout leads to some of the issues mentioned above. The burnout time and length can probably be optimized, but I haven't really wanted to experiment that much with it.
Casting the Ring
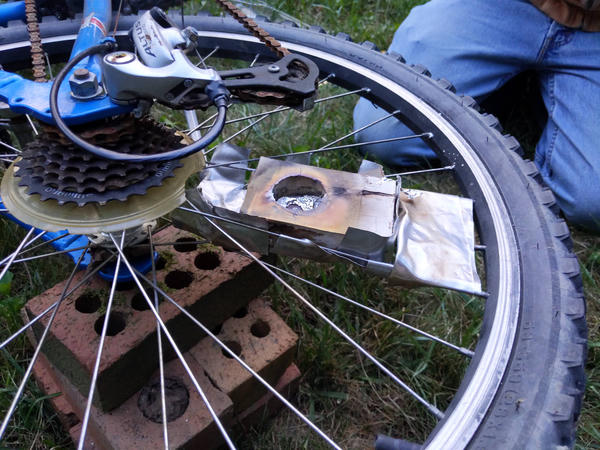
I decided to do a bike centrifuge because stuffmadehere did it in 2008 and said it was easy.
To melt the metal, I used a Bernzomatic TS8000 torch with MAP-PRO gas. I'm not sure if MAP-PRO gas is better than other gases, or if this torch is the best value. I do like that it self ignites.
After a few scares with molten metal being flung around due to my crappy bike centrifuge, I decided to get a crucible and tongs to pour it. I figured some people on YouTube were just pouring it, why couldn't I do that? (later, it turned out they were using vacuum systems)
Two things I learned about these crucibles the hard way:
- You should use one crucible per metal alloy so that they don't mix.
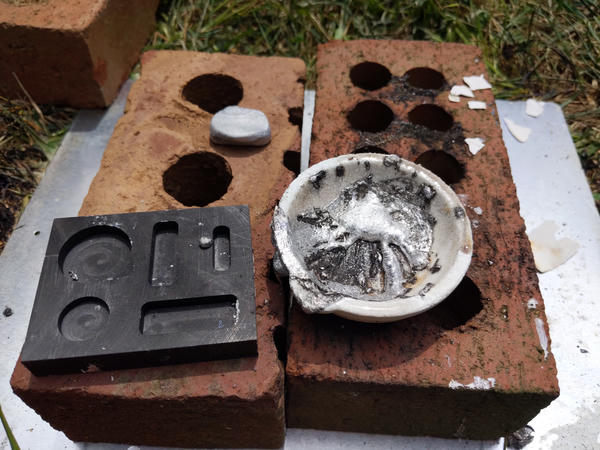
- You should glaze your crucible so that it stays smooth and your metal doesn't stick to it. Video tutorial on glazing. I used borax powder. This seems to work with silver, but not for aluminum for some reason.
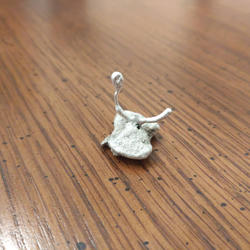
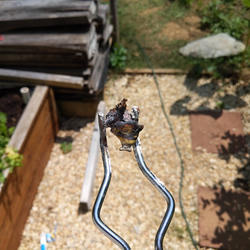
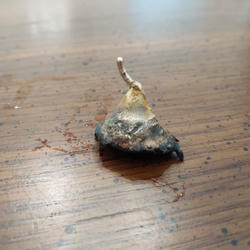
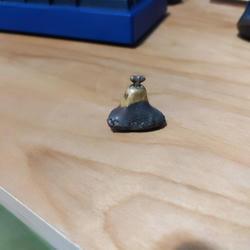
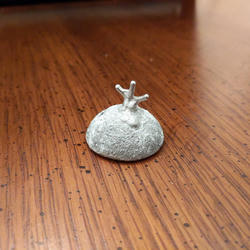
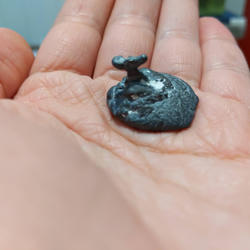
I failed 5-10 times with pouring it directly. It turns out that a pushing force is necessary for casting metal with small details and features because the surface tension is so high. This can be done by a vacuum or a centrifuge.
This explains why there were so many perfect half-spheres formed on failed casts. The force of gravity couldn't overcome surface tension and gas in the mold with such a low weight. These research articles show the surface tension of aluminum and silver to be ~1000mN/m when water is ~70mN/m! (here and here)
I decided to do a vacuum casting system after seeing VOG make it easy (here and here). I also wanted something I would feel comfortable using again unlike a homemade bike centrifuge.
So, I made this pvc pump with this piston. The problem with using a manual pump is that it takes a lot of effort to achieve a vacuum, and it's not automatic. If you're pouring metal alone, you'd need to melt the metal significantly higher than it's melting point to account for the time you'd have to spend pumping. I just got a vacuum pump from Harbor Freight after 1-2 tries with the manual pump.
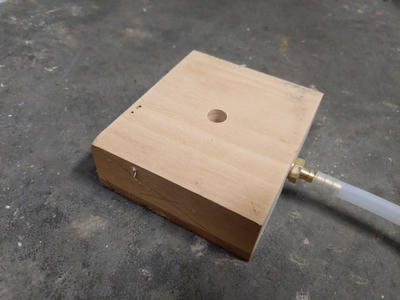
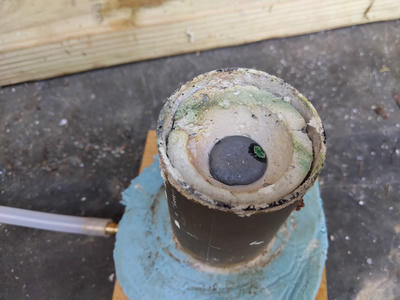
The flask (metal pipe + plaster mold) is placed on top of epoxy-coated "vacuum table" (piece of wood with a hole connected to a vacuum pump). The blue piece is a silicon gasket to create a good seal.
The way it works is a vacuum is created and sucks through the plaster (which is porous to air) creating a difference in pressure. The pressure from the atmosphere then presses down on the liquid metal that is poured into the mold. Max pressure of the atmosphere at full vacuum is 14.7 lb/in^2.
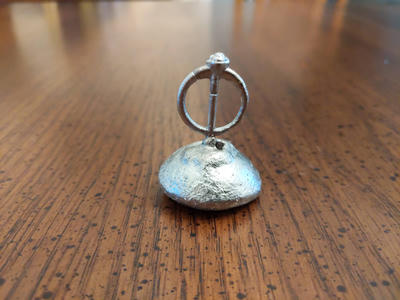
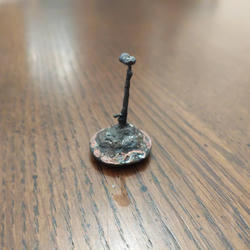
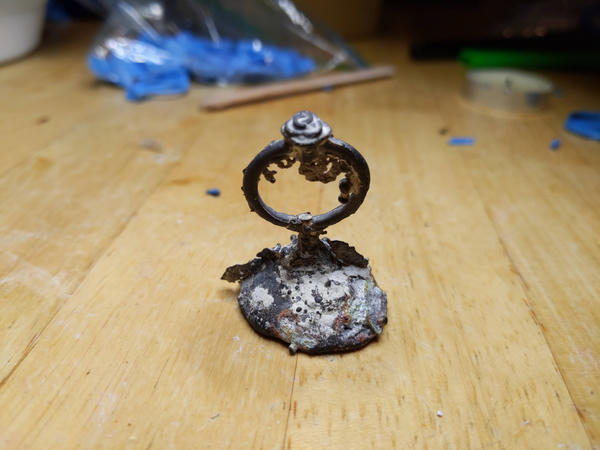
This was my first cast after the vacuum method! I decided to redo everything to remove bubbles and defects because I got my first success.
These failures were all due to preventable issues. After finding some great resources (here and here), I learned that:
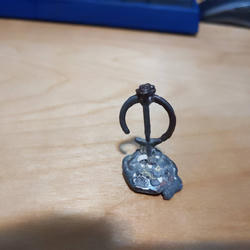
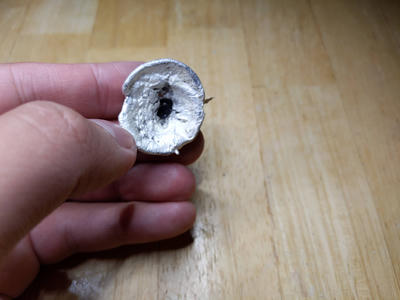
- Sharp, perpendicular lines in castings are created from a cold joint meeting liquid metal. So on the aluminum casting success, metal stopped flowing on one side of the ring and was met on the other side by hot metal
- Shrinkage is caused by metal solidifying on the outside and force (vacuum, weight, centrifuge, pressure) pulling the semi-molten metal to other areas. You could fix this by increasing the temperature of the mold and more importantly the metal temperature. VOG on YouTube casts at 400 deg f for some of his plaster molds, so I don't think mold temperature is as crucial as metal temperature.
- Large numbers of extra bubbles are caused by gas inside of molten metal. For silver, you can use borax powder to degas it.
- Flashing (excess metal material on the part) is created by heating the plaster mold up too quickly, causing cracks.
A key marker for me is melting the sterling silver to be hot enough to not instantly solidify after you take the torch off of it.
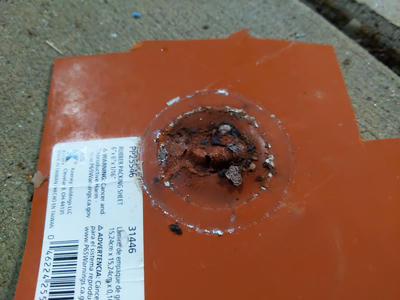
I was worried about the vacuum that could be created so I put a sheet of rubber on top of the flask to help with pulling air out. It created this weird effect, and I'm not sure that it helped or that I would do it again. Putting rubber on top probably does help with creating a vacuum, but it also eliminates the pushing force from the atmosphere.
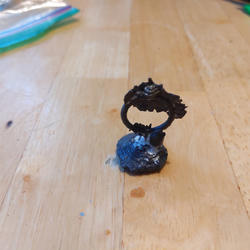
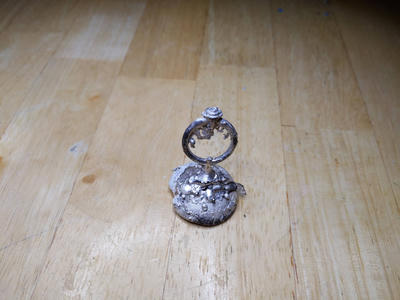
After adding borax and heating up the mold metal to be extra hot, I had my first real success! I was happy with this because the rose got enough detail, and the flashing was mainly on the inside of the ring.
Note: If you are having problems achieving a vacuum throughout your whole flask, try putting a straw or stick of wax that reaches to the bottom where the vacuum is sucked through. VOG's video on this tip.
Polishing
To remove firescale (black copper oxidation when casting sterling silver), you can grind it away or use a pickling solution. I put 1 cup water, 1 cup vinegar, and a tablespoon of salt in a plastic-lined beverage can on the hot plate.
To remove the flashing and external bits, I used a jeweler's saw. I think a dremel would also be fine.
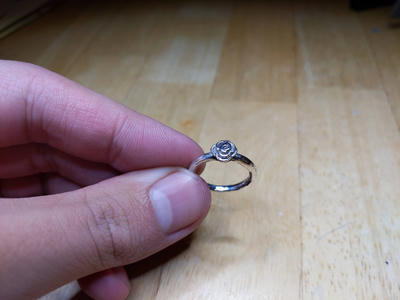
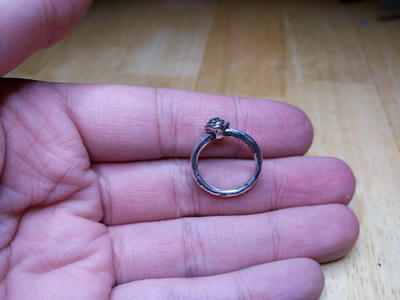
This is my final result! I used different dremel bits, along with jeweler's rouge to polish it.
In the future, I'd use this guide to polish the crevices. I'd also buy more polshing bits of varying grits to get a more even shine. More polishing tips here.
Note: It may be possible to reduce/eliminate firescale by creating a vacuum to reduce oxygen after casting. See here.
What I'd do differently / Reflections
To make this setup a lot quicker and efficient, I'd make many of the improvements mentioned in this guide like:
- using Blender to design more organic shapes
- potentially printing the ring in wax resin to remove the wax injection step
- designing in an exit hole for air in the silicon mold
- making a conical shape for better wax injection pressure
- making a vacuum chamber which can achieve a stronger vacuum
- using real investment powder
- using a silicon sprue base
- curing the plaster mold in a smaller oven with a front door, so I don't have to reach into a oven that is very hot
- polishing the ring with many different grits to have a smoother finish
- creating an organized table/cart which can be wheeled outside quickly
To finish difficult projects like this in the future, I'd recommend doing your research and trying to understand why people do things the way they do, and what their exact steps are. This would've saved me so much time because I had to learn many of these lessons the hard way.
More Links
Good video showing functional part casting.
Potential idea: Maybe you could use a small air pressure system to blow out ash from a resin model. Eliminating the wax injection step and the cost of a printable wax resin. Someone is using a similar setup here.
Potential idea: Wax injectors are $200-$400 on Amazon. Maybe it's possible to make a DIY wax injector system. This person did it.
YouTube video that explains of surface tension.
